
Not every game is going to have outputs, and not every game is going to have an appropriate display file that is controlled by said outputs. So a secondary monitor is blank most of the time right? Wrong! Mame Hooker can use any image in a display file, not just images in the display files folder and if you make it generic enough, you can display front-end style artwork on that secondary display. In this case we are going to make the secondary monitor display a marquee image.
The display file to do this is already included with Mame Hooker. To use it we need to edit the default.ini so that it is loaded for every game.
So first up Mame Hooker, click "Script Editor/Edit Default.ini" from the menu and in the "MameStart" section (NOT MameHookerStart) use the Add/Command function tool to add a "Load Display Artwork" command or manually type in the command so that your general section is similar to the one below:
[General] MameHookerStart= MameHookerStop= MameStart=lds marquee MameStop= StateChange= OnPause= OnRotate=
Go ahead and save. Now assuming your marquees are in png format and they are stored in a "marquees" folder inside your mame folder you are done. Mamehooker will now automatically load a marquee for a game when it is launched if available.
If you want to know how things are working or your marquees are not stored in that location, then read on.
Mamehooker comes with a few display files that are added as templates so that you can do things like display marquees. The one we are using is called "marquee" (clever) and is in the "displays/marquee" folder. Go ahead and open it up so we can see what is going on.
------------ Description: ------------ This is a generic layout file that will display the marquee for a given game on your secondary monitor. To get it to work add the line "lds marquee" to the "MameStart" entry in your default.ini. Don't forget to setup your monitor posiiton in default.dis and to change the path below!!! [Layout] NumberofImages=1 x= y= width= height= image= [Image1] x=0 y=0 height=1 width=1 length=1 'Note: change this next line to the path to your marquees to get this to work. 'As of now it is set to look in your mame path for the best match out of rom, parent and driver images image=%mamepath%marquees\%rpd%.png keepaspect=1 ------------- Credits: ------------- Layout by HowardC
Again, lots of comments. I shouldn't even need to do this tutorial, but oh well. Basically everything is exactly the same as a normal display file as described in the previous tutorial, except for two lines. Note the "image" entry. Instead of pointing to a image or group of images, it uses a full path (or in this case a path built by special flags). Note the flags, which allow this display file to be more generic. %mamepath% is replaced by the path to mame you defined in mamehooker's setup. Then the "marquees\" folder is tacked on, followed by %rpd%, with a ".png" tacked on at the end. The %rpd% flag is very special and only works in display files. It stands for "rom, parent, driver." When rpd is used, mamehooker first looks for the file named after the rom, then the parent, then the driver. This will give us the best possible chance of finding a accurate marquee image. (You can also use %rom%, %parent%, and %driver% flags specifically.)
The other new additon is the "keepaspect" entry. Normally images in display files are stretched to fill the area defined, but with keep aspect turned on, they are scaled, retaining their aspect ratios. This is crucial when using artwork of unknown dimensions so that it looks properly. Also it makes defining the image area a lot easier. We want the marquee to fill the whole screen so we can just use 1s (100%) for the width and height.
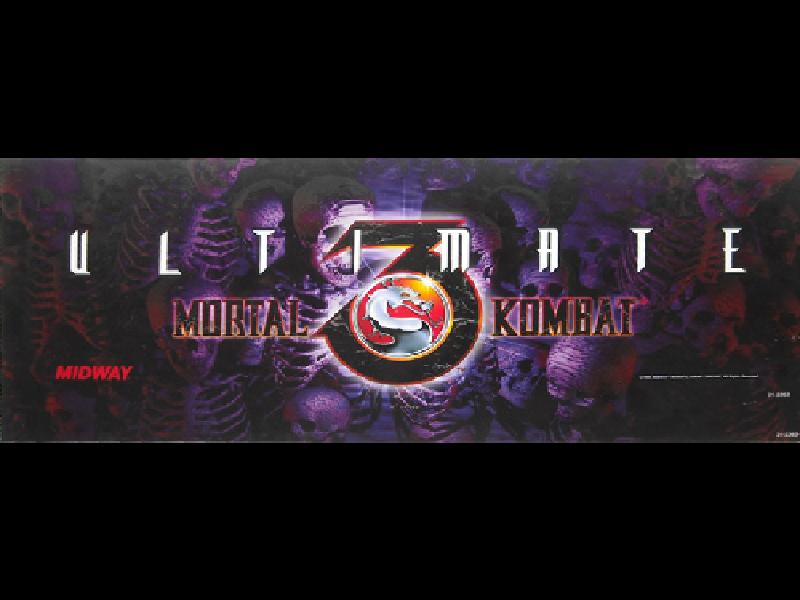
And that's all there is to it. When you load up, umk3, for example, your secondary monitor will display something like this:
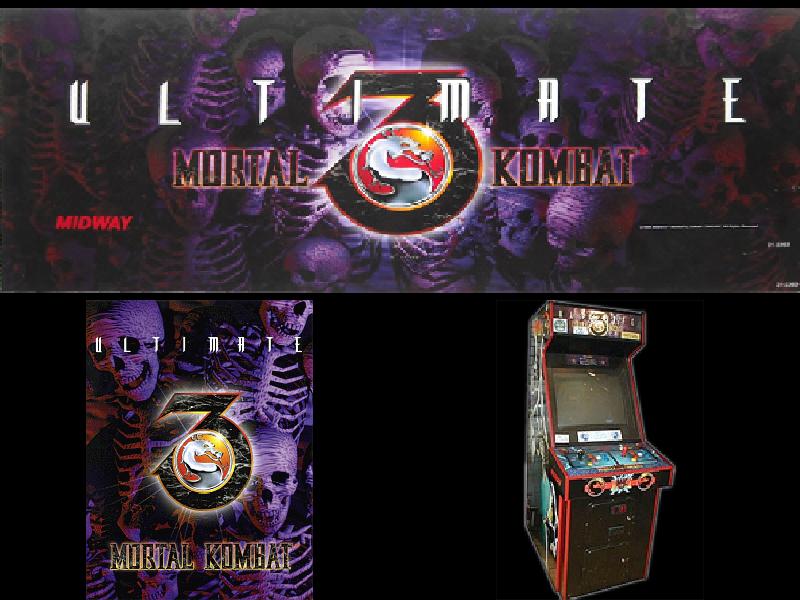
Also note that mamehooker includes a marq_flyer_cab display file as well, which is essentially the same only the screen is divided into three sections and displays the marquee, flyer and cabinet image. It looks like this:
 Calendar