
Ok so you have mamehooker downloaded, you are excited to get ready to use outputs but you aren't sure how to start. This is the guide for you!
1. Initial Setup
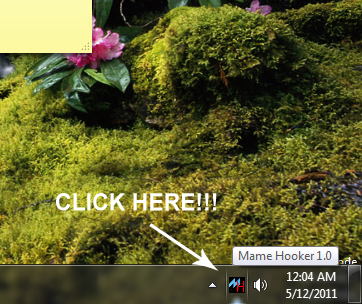
First extract the mamehooker zip file to the folder of your choosing. It doesn't really matter where you put it, just keep in mind that you need to remember where it is. Once it is installed click on the "mamehook.exe". Mamehooker will appear in the right corner of your taskbar. You can click on it to open the debug window and start the setup.
2. Setup MAME Path (Completely Optional)
A new feature to mamehooker is the ability to set a mame path. If the path to your mame exe is defined, mamehooker can call mame automatically to get some additional information that is helpful in sorting and reading ini files for games, such as the parent rom name and driver name. Please note that this feature is totally optional and mamehooker will read outputs from mame just fine without it, but it is reccomended that you set it up for advanced usage.
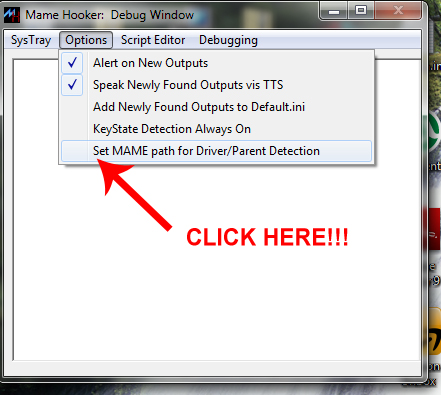
Now that we have the debug window open go ahead and click on "Options/Set MAME Path for Parent/Driver Detection" from the menu.
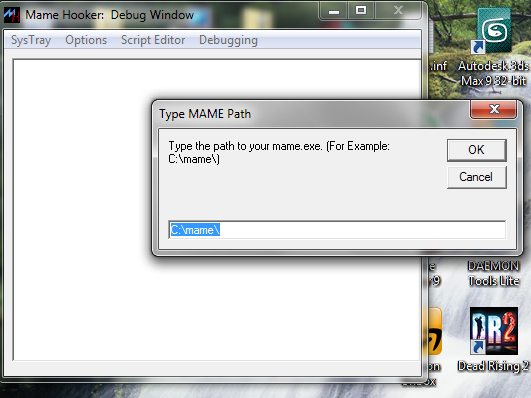
Once you do you will be Prompted to enter the path to your mame exe. Type in the full path, minus the actual exe and press ok.
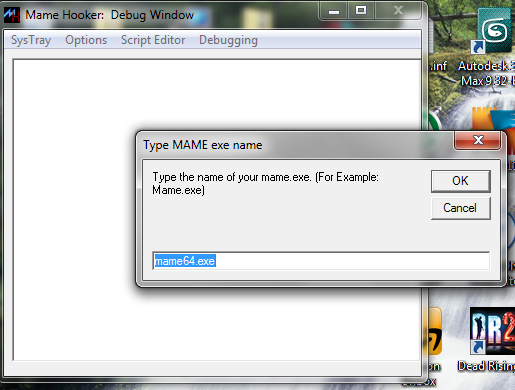
Now you will be prompted to enter the name of the exe (typically mame.exe) so enter the name and press ok.
Congradulations, mame is now properly linked with mamehooker for advanced usage.
3. Setup Mamehooker Options
In the past mamehooker didn't really have any user-configurable options, but recently many options were added to give the user more choices in how mamehooker operates. Most of these options involve how mamehooker automatically detects and catalogs new outputs as you are playing mame. In the past mame silently added new outputs to the rom.ini (where "rom" is the currently playing rom) and the default.ini. Recording outputs to the default.ini has recently become problematic because gambling games are now allowed in mame, many of which have dozens of outputs. A resulting default.ini can be huge!
Anyway, click on the options part of the menu and note the following options:
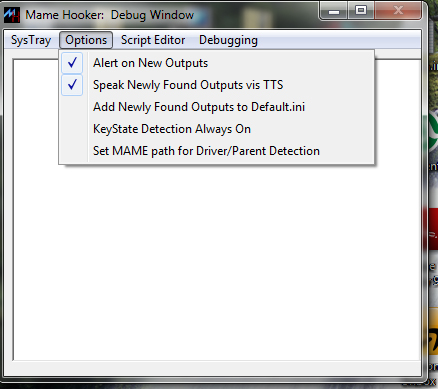
Alert on new Outputs: When playing MAME, mamehooker will play sounds/alert.wav if new outputs are found. It is reccomended that you leave this ON.
Speak Newly Found Outputs via TTS: When checked mamehooker will tell you, in plain english, what outputs it has found while playing mame via Microsoft Text to Speech. I find this extremely helpful, but you can turn it off if you don't want to install text to speech.
Add Newly Found Outputs to Default.ini: Does exactly what it says... in addition to the rom.ini new outputs will automatically be added to default.ini Note that if you are using a recent version of mame this is NOT reccomended as it will lead to a very cluttered default.ini You can always add outputs to the default.ini manually.
KeyState Detection Always On: Mamehooker recently added support for binding commands to keyboard keys. Normally this feature is turned off until mame starts, but if you want to use it constantly (for pc games and such) turn this option On.
And with that your options are setup.
4. Checking for Supported Devices
Hopefully you have some sort of output device to use mamehooker with. If you do plug them in now. (Actually they should have been plugged in from the start, but oh well).
In the debug window click "SysTray/Show Support Devices" from the menu.
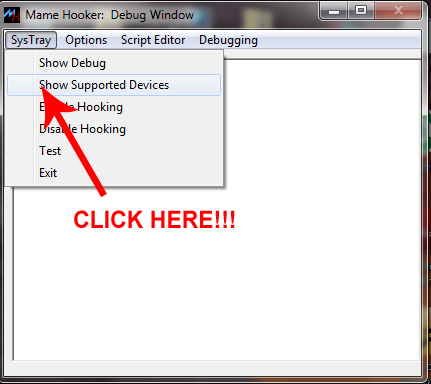
You will then be presented with a printout similar to the following:
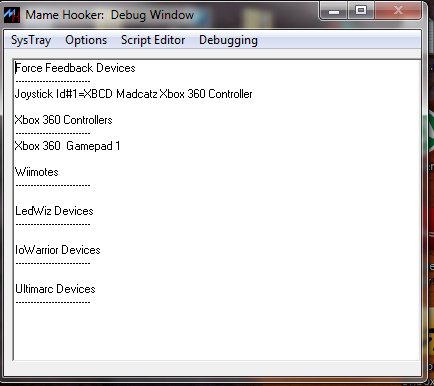
If your device shows up then all is well and you can go to the next step.
If not then exit mamehooker via "SysTray/Exit", start it up again and try again. If that doesn't help make sure all the proper drivers and support files for your device are in place (directX, XInput, SAPI, ect....). If it still doesn't show up then it is unsupported or defective. Contact me if you have a device that should show up but it doesn't.
5. Testing Devices
It is a good idea to now test any devices you might have to make sure they are working properly. This example will show you how to do so.
First click on "SysTray/Test" from the menu.

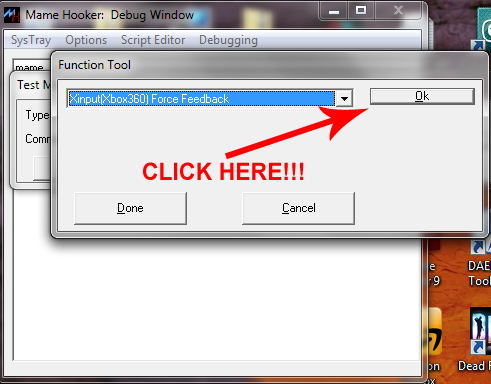
You will then have a little test window pop up. Click on the "Browse" button.
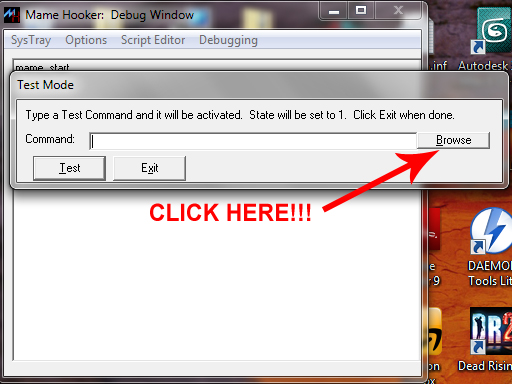
At this point you will be presented with a drop-down box containing mamehooker's various functions. You will want to choose a function that relates to your device for testing, but in this instance I will select the Xinput function and click "OK"
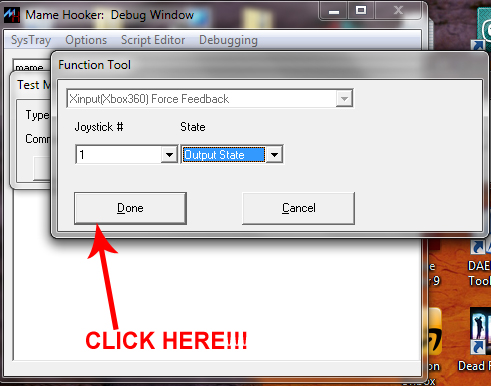
Once you click ok several options will appear for the function (specific to the function). Generally the default values are ok for testing, so simply click "Done"
You will now be brought back to the test window. Note the text in the textbox... that is the actual command mamehooker will be using. Anyway, go ahead and click "Test"
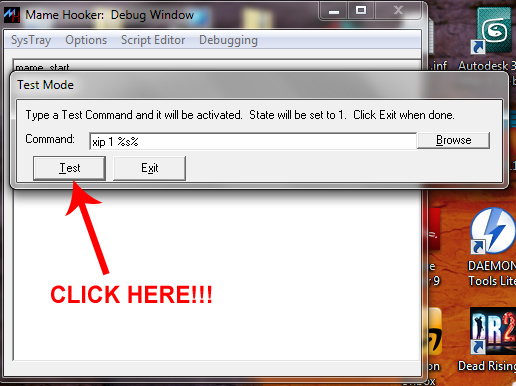
Did it work? If so then your device is working. If not then you have either sent and invalid command or something is wrong with your device. Again if you have a lot of trouble contact me and I will try to help.
Note that if it did work you may want to run the function again only with the value set to "off" to reset the device.
6. Adding MameHooker to your startup.
Ok. MameHooker is now properly configured. But mamehooker is designed to be running at all times, ready to detect outputs for you. You want to make a shortcut to mamehooker and add it to window's startup folder. Now mamehooker will start when your computer starts and you are ready to roll!
At this point you might actually want mamehooker to do something, so check out some of the other tutorials for usage instructions.
 Calendar